
Image to Video AI Free: Beginner Workflow That Works
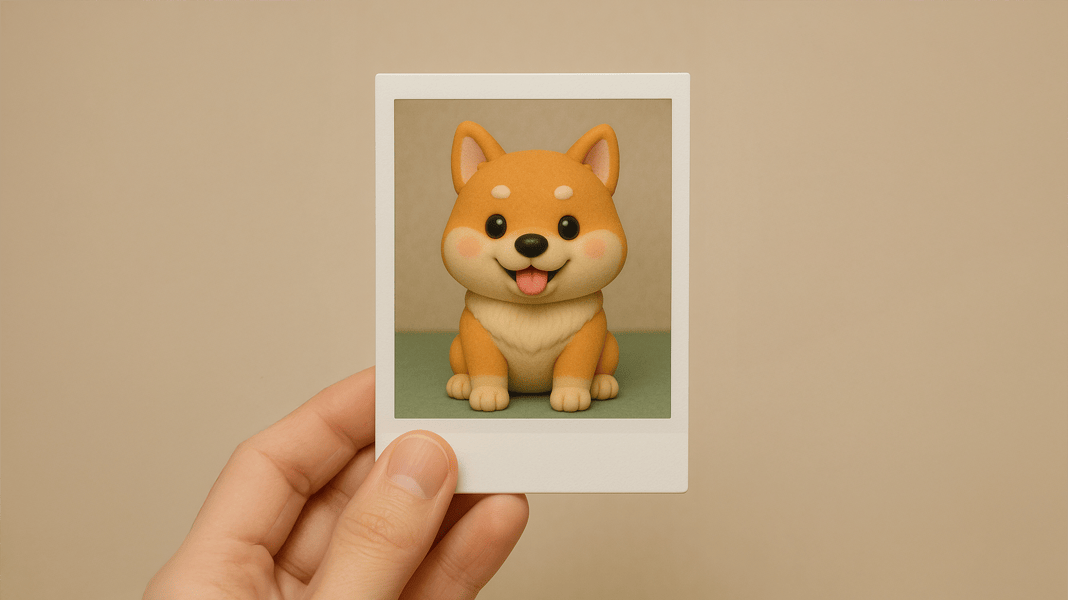
First, a still image can become a useful short video when the workflow stays clear. This guide explains a beginner path for image to video ai free, from choosing one image to writing a simple prompt and reviewing the first result.
However, this article is not a full tool comparison. Instead, it focuses on one practical workflow: upload image and prompt, control motion, review the output, and improve the next version with purpose.
For creators, marketers, social media teams, ecommerce content teams, and small businesses, this process keeps AI video creation simple. It also helps turn one source image into a short video asset that can support social posts, landing pages, product visuals, and campaign tests.
Why a Beginner Workflow Matters
First, image-to-video creation can feel easy from the outside. One image is uploaded, one prompt is written, and one short video is generated. However, the result depends on the source image, the prompt, and the motion direction.
Therefore, a small workflow helps reduce random testing. It also makes each revision easier to understand. Instead of asking for a dramatic scene change, the first test should focus on clean motion, subject stability, and a clear use case.
For example, a creator may need a simple animated portrait. Meanwhile, a marketing team may need a product teaser for a landing page or social post. In both cases, the process should make the first result useful, not perfect.
A beginner workflow also helps avoid prompt overload. Long prompts can create mixed instructions. In contrast, short prompts with clear motion, mood, and stability guidance are easier to test.
The Right Mindset for the First Test
In the beginning, the first video should be treated as a test. It shows how the image responds to motion. Then, the next prompt can improve one issue at a time.
As a result, the process becomes easier to repeat. A successful short clip usually comes from steady refinement, not from one long prompt that tries to solve everything at once.
The first goal should be simple. A clean camera push-in, a soft background movement, or a subtle light shift is often enough. Later, more creative variations can be tested after the basic motion works.
Step 1: Choose the Right Image
First, the image should already look clear. A strong subject, simple background, and balanced lighting usually help the video stay stable. Meanwhile, crowded images often create strange movement.
For product visuals, a clean product photo with space around the subject is usually easier to animate. For social content, a lifestyle image can also work well if the main subject is obvious.
In other words, the image should already carry the main message. AI video can add motion, but it should not be expected to fix every weakness in the source image.
A useful image does not need to look expensive. Instead, it should make the subject obvious. For example, a photo with one main object, clean contrast, and a visible setting is easier to animate.
Image Checklist
Before uploading, the image should pass a few simple checks:
The main subject is clear within one second.
The background does not compete with the subject.
Lighting supports the intended mood.
Important details are not cut off by the image edge.
The image style matches the final platform or campaign.
There is enough visual space for camera movement.
The subject can support natural motion.
For example, a product image with clean edges and soft shadows can support a slow reveal. A portrait with good lighting can support gentle background motion. A travel image can support a cinematic pan or light atmosphere movement.
However, some images are harder to animate. Small text, messy reflections, crowded product groups, and unclear hands can increase visual errors. Therefore, a simpler image is often a better starting point.
Common Image Problems to Avoid
Sometimes, a photo looks strong to the human eye but performs poorly in AI video generation. For example, small text, detailed hands, reflective surfaces, and crowded product groups can be harder to animate.
Also, images with multiple subjects may cause unstable motion. A group scene can work, but the prompt must explain which subject should move. Otherwise, the generated video may animate the wrong area.
In product-focused content, avoid images that hide the product shape. A clean product angle usually supports better motion. Moreover, it helps the final clip feel more useful for landing pages or social media.
Step 2: Define One Clear Video Goal
Next, the workflow needs one clear goal. A short AI video made for a social post should not follow the same direction as a calm landing page loop. Therefore, the content goal should guide the motion, mood, and review criteria.
A simple goal might be: “Create a short product reveal with slow camera movement.” Another useful goal might be: “Add natural motion to a lifestyle image for a social post.” Both goals stay clear and easy to test.
For commercial content, the video should support a message. It may introduce a product angle, refresh a static creative, or make a page feel more active. However, the motion should not distract from the subject.
In each case, the goal should fit one sentence. This keeps the workflow grounded. It also prevents the prompt from becoming a long list of unrelated ideas.
Match the Goal to the Channel
For social media, the first second matters. A gentle push-in or quick reveal can make a static image feel more alive. Still, the main subject should remain stable.
For a landing page, slower motion is often better. A soft light shift or subtle pan can add polish without competing with the headline or call to action.
For email visuals, motion should feel clean and controlled. The clip should support the message rather than overpower it.
For ecommerce content, product accuracy matters most. Shape, texture, packaging, and key details should stay consistent.
Keep the First Goal Small
At the beginner stage, smaller goals usually lead to better learning. Instead of asking for a full scene transformation, start with movement that fits the original image. As a result, each test becomes easier to judge.
For example, a still product image can support a slow camera move, soft light shift, or elegant reveal. However, asking the subject to move through a completely new environment may create visual errors.
Likewise, a food image may support steam, gentle camera movement, or light background motion. Yet a prompt that changes the plate, room, and ingredients may produce an unstable clip. Therefore, the goal should stay close to the source image.
Step 3: Write a Prompt That Controls Motion
Next, the prompt should describe movement in plain language. A useful prompt explains what moves, how it moves, and what should remain stable. Therefore, short and specific prompts often work better than long instructions.
For example, a product prompt can say: “Slow camera push-in, soft studio lighting, minimal background motion, keep product details stable.” This is short, but it gives clear direction.
A focused prompt usually includes four parts: main subject, motion direction, visual mood, and stability instruction. This structure works for product visuals, portraits, food photos, travel images, brand graphics, and simple campaign assets.

Simple Prompt Formula
Use this formula:
Main subject + camera movement + mood + stability limit
Example:
Product package, slow camera push-in, clean commercial lighting, keep product shape stable.
This prompt is direct. It avoids unnecessary style conflict. It also gives the generation process a clear boundary.
Prompt Examples for Beginner AI Video Creation
Product image:
Slow camera push-in, soft studio lighting, minimal background motion, keep product details stable.
Portrait image:
Gentle background motion, soft natural lighting, calm mood, keep the face stable and realistic.
Travel image:
Slow cinematic pan across the scene, light wind movement, natural atmosphere, preserve the original landscape.
Food image:
Subtle steam movement, warm lighting, slow camera push-in, keep the dish structure consistent.
Brand graphic:
Smooth reveal, clean commercial tone, minimal movement, preserve the original design.
These examples are not magic phrases. Instead, they show how to connect the image, the goal, and the motion direction. Therefore, the best prompt is usually specific without becoming crowded.
Step 4: Upload the Image and Review the First Result
After the image and prompt are ready, the next step is a small test. The image-to-video tool gives a focused place to upload one image and describe the motion.
However, the first result should not be judged only by whether it looks impressive. It should be judged by whether it fits the content goal. A calm landing page loop needs a different style from a fast social media teaser.
The first result should answer one question: does this image support the intended motion? If the answer is yes, the next step is refinement. If the answer is no, the image or prompt may need a simpler direction.
First-Result Review Checklist
Use this checklist after the first generation:
Does the main subject stay clear and recognizable?
Does the motion support the message?
Does the background move naturally?
Does the video avoid distracting distortion?
Does the first frame work for the target channel?
Does the final frame loop or end cleanly?
Does the result suggest one clear next change?
If the result is too dramatic, reduce the motion. If the subject changes too much, strengthen the stability instruction. Likewise, if the mood feels wrong, adjust lighting and style wording before changing the whole prompt.
Revise One Thing at a Time
In practice, controlled revision is the fastest learning method. One change may reveal whether the issue came from speed, composition, mood, or prompt clarity. Therefore, avoid rewriting every instruction after the first test.
Useful revision phrases include:
Slower motion
Minimal background movement
Preserve the original composition
Keep the main subject stable
Soft lighting shift
Smooth natural movement
Clean commercial style
No drastic scene change
These phrases are simple. However, they give the workflow clearer boundaries. They also make the next result easier to compare with the first one.
Step 5: Match the Video to a Real Use Case
Once a usable version appears, the clip should connect to a real content task. Otherwise, the output may look interesting but lack purpose. Therefore, the final video should support a post, page, ad concept, email visual, or product story.
For social media, the first second matters. A gentle push-in or fast reveal can help a static image feel more alive. For a landing page, slower motion may feel more premium and less distracting.
For product visuals, accuracy matters more than dramatic movement. The product shape, material, color, and key details should stay recognizable.
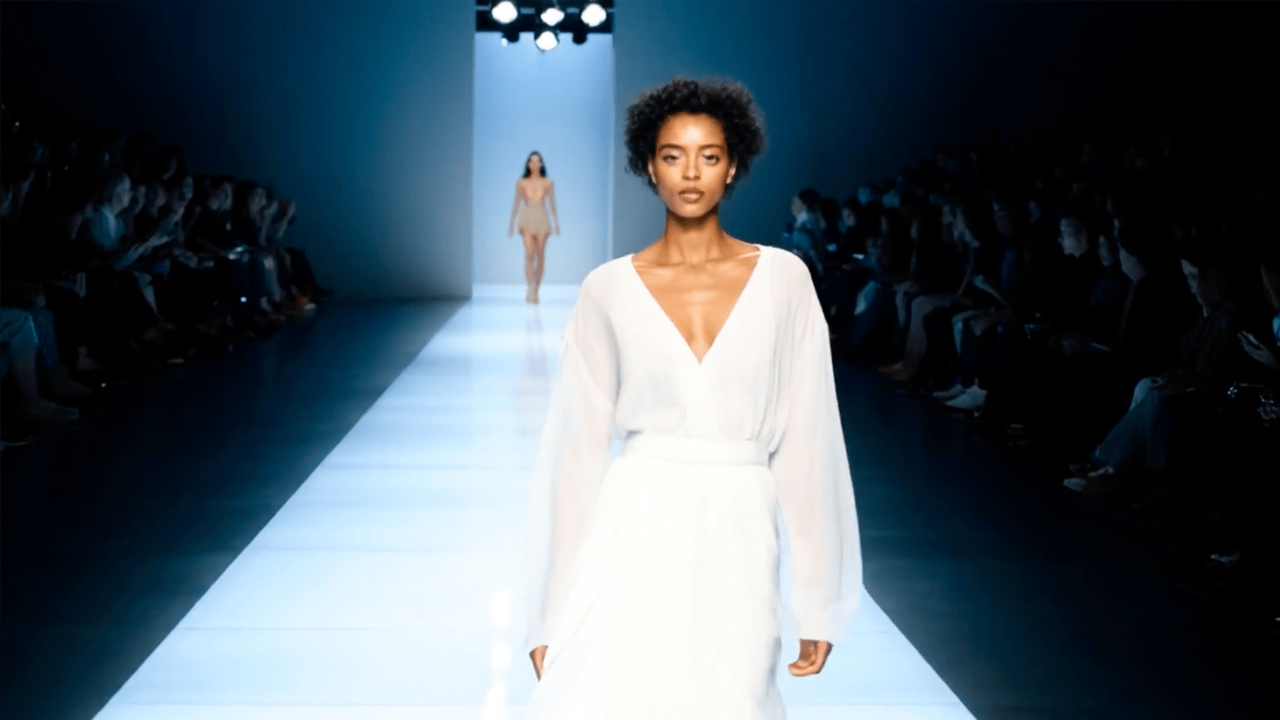
Scenario 1: Social Media Teaser
For a social teaser, the goal is usually quick visual interest. However, the subject should still remain stable. A prompt with “smooth reveal,” “subtle background motion,” and “keep the subject accurate” can work well.
Then, a short caption or title can explain the message. The AI video adds movement, while the copy gives context. As a result, the asset becomes easier to place inside a content calendar.
Scenario 2: Product Visual Refresh
For a product visual, the prompt should protect shape, texture, and packaging. A slow camera push-in can add depth without changing the product. Also, a clean background helps keep attention where it belongs.
If the product starts to warp, the image may need a cleaner angle. Alternatively, the prompt can reduce movement. In most beginner workflows, subtle motion is safer than a full scene transformation.
Scenario 3: Landing Page Loop
For a landing page, the clip should support the surrounding text. Therefore, calm motion often works better than fast animation. A slow pan, soft light shift, or clean reveal can create depth without distracting from the page.
In this setting, the video should feel polished and controlled. It should not fight the headline, product description, or call to action. Instead, it should make the visual area feel more active.
Step 6: Plan Output, Credits, and Reuse
After a few tests, planning becomes important. A team may need several variations for different platforms. Therefore, it helps to define the number of images, prompts, and revisions before generating many clips.
For output planning, review pricing and credits before scaling production. This keeps testing practical and helps avoid random generations without a clear purpose.
Additionally, save prompts that work. A small prompt library can speed up future content production. For example, one prompt pattern may work for product shots, while another may work for lifestyle images.
Simple Planning Notes
Asset type: Product teaser
Best motion style: Slow reveal or push-in
Prompt note: Preserve product shape
Asset type: Portrait post
Best motion style: Subtle background motion
Prompt note: Keep face stable
Asset type: Landing page loop
Best motion style: Calm pan or light shift
Prompt note: Avoid distracting movement
Asset type: Creative test
Best motion style: Different motion variations
Prompt note: Change one variable each time
This planning process helps keep creative testing organized. Instead of comparing random outputs, the team can compare planned creative directions.
Step 7: Improve the Result Without Overediting
After the first test, improvement should stay focused. A beginner workflow works best when each revision solves one visible issue. Therefore, the next prompt should not become much longer.
For example, if the clip looks flat, add a clearer mood or lighting direction. If the movement feels unnatural, simplify the motion. If the subject changes too much, strengthen the stability instruction.
However, avoid chasing perfection too early. A short AI video does not need to replace a full production shoot. Instead, it can support content testing, social posting, landing page visuals, and creative exploration.
In many cases, the best result is the one that communicates quickly. Smooth motion, clear subject focus, and a useful mood often matter more than complex effects. Therefore, the revision process should stay practical.
When to Change the Image Instead of the Prompt
Sometimes, the prompt is not the problem. The image may lack enough clarity, space, or visual structure. Therefore, a new image can save time.
For example, if the product edge keeps warping, use a cleaner product photo. If a portrait face changes too much, choose an image with better lighting and a simpler angle. If a background keeps moving strangely, test a less crowded image.
This step matters because AI video creation depends heavily on the source image. A better image often improves the result faster than a longer prompt. In other words, the workflow starts before the generation step.
Step 8: Use Motion That Supports the Message
Motion should help the message feel clearer. It should not exist only because movement is possible. Therefore, every animation choice should support the content goal.
For example, a slow push-in can add emphasis. A gentle pan can create atmosphere. A soft lighting shift can make a static product image feel more polished. However, random movement can weaken clarity.
In commercial content, clarity often wins. A viewer should understand the subject quickly. Then, the surrounding copy or call to action can guide the next step.
Natural motion also helps AI video feel more polished. A slow push-in, gentle pan, soft lighting change, or subtle background movement can add life. Therefore, beginners should start there.
In contrast, complex action may create more visible errors. Fast motion, dramatic transformations, or heavy object movement can be harder to control. So, simple motion is often the best first step.
What to Avoid in Beginner AI Video Creation
Even with a strong workflow, a few mistakes can reduce quality. First, avoid prompts that try to rebuild the entire image. The still image should guide the video, not disappear from it.
Second, avoid unclear motion requests. Words like “make it amazing” or “make it viral” do not explain what should move. Instead, use direct language about camera movement, subject stability, and mood.
Third, avoid testing too many variables at once. If the image, prompt, motion, and mood all change together, the result becomes hard to evaluate. Therefore, controlled testing is more useful.
Finally, avoid treating every output as final. AI video often improves through quick review and focused revision. This process is normal, especially for beginners.
Extended Reading and Related Tools
Furthermore, some workflows need more than image-to-video generation. A still image may need cleanup, a campaign may need text-to-video, or a creative concept may need effect-based testing.
Use Video Effects when the project needs a more stylized creative direction.
For this article, the core workflow remains simple: start with a clear goal, test one direction, and improve with purpose. That approach keeps beginner AI video creation practical without turning the topic into a full tool list.
FAQ
What is the easiest beginner workflow?
First, choose one clear image. Next, write one short prompt that describes camera motion, mood, and subject stability. Then, generate a test result and revise only one element at a time.
What kind of image works best?
Generally, a clear image with one main subject works best. Strong lighting, simple background space, and visible edges help the AI keep the video stable.
How long should the prompt be?
Usually, a short prompt is enough for a first test. It should mention the subject, motion, mood, and one limit, such as “keep the product shape stable.”
Why does the first result sometimes look unstable?
Often, the image is too crowded or the motion request is too complex. Therefore, use a cleaner image, reduce movement, and add a stability instruction in the next prompt.
Should every image become a video?
No. Some static images already do their job well. However, video can help when motion supports a social post, product reveal, landing page loop, or campaign test.
Where should the final short video be used?
A final short video can support social posts, landing pages, email visuals, product teasers, and creative tests. However, it should match the channel. A calm landing page loop and a fast social teaser may need different motion styles.
Final Takeaway
In summary, a useful image-to-video workflow starts before the generation button. The source image should be clear. The prompt should describe motion in simple words. The first result should be reviewed with a practical checklist.
Finally, image to video ai free works best when the process stays focused. Start with one image, one motion goal, and one clean revision. Then, use the result where motion can support a real content task.
Action Steps
First, select one clean image with a clear subject and enough space for motion.
Next, write a short prompt that explains camera movement, mood, and stability.
Finally, review the result, adjust one detail, and test again with purpose.
CTA