
free image to video ai: Input Image Quality Checklist
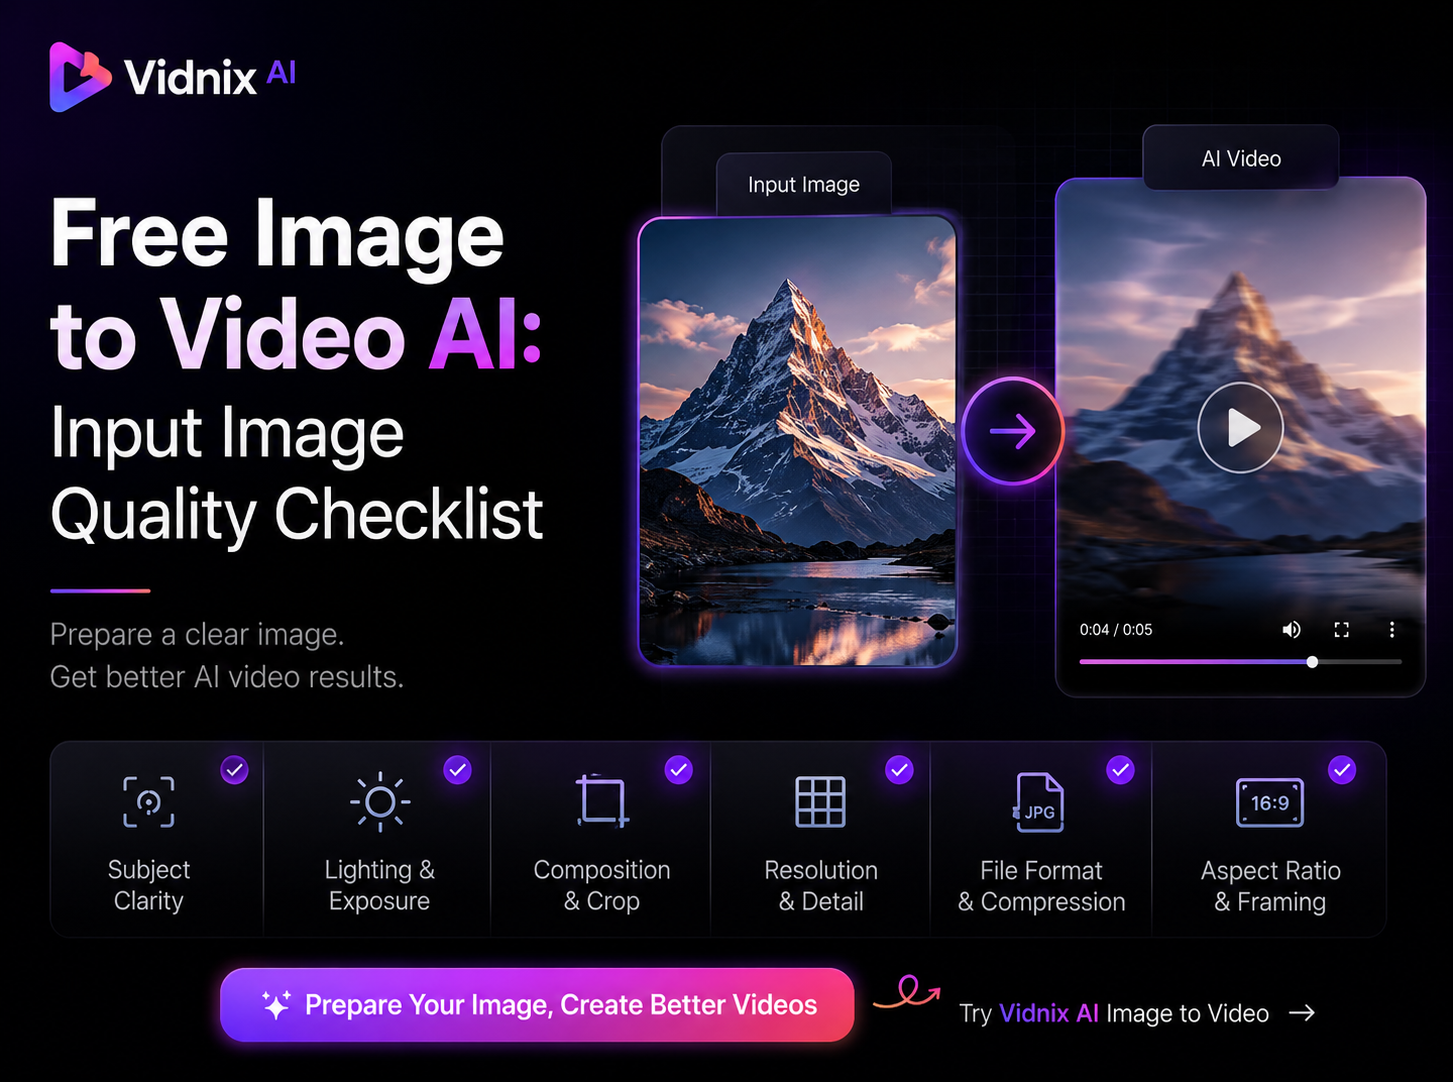
First, image quality sets the foundation for image-led video. A clear photo gives AI stronger visual clues, cleaner subject edges, and more stable motion. Therefore, this checklist focuses only on input image preparation, not free credits, tool rankings, or broad AI video theory.
In practice, the best result often starts before generation. The source image should show one clear subject, balanced lighting, enough safe space, and a clean visual direction. After that, the motion prompt can focus on camera movement, mood, and pacing.
Who This Checklist Is For
First, this checklist fits creators, marketing teams, social media teams, ecommerce teams, and small businesses that already have still images and want cleaner video output. It is especially useful when one product photo, portrait, artwork, campaign image, or lifestyle visual needs to become a short video asset.
At the same time, this article is not a general AI video encyclopedia. It focuses on the photo before upload. In other words, it explains how to prepare a clear photo so the generation step has a stronger starting point.
For teams that publish regularly, the checklist can also become a simple pre-upload review step. As a result, fewer test generations are wasted on blurry images, tight crops, weak lighting, or busy backgrounds.
Why Input Image Quality Matters Before Motion
First, an image-to-video workflow starts with a still frame. The image gives the model its subject, lighting, composition, color, background, and visual style. As a result, the final clip can only build from the information already visible in that frame.
However, a prompt cannot reliably repair a weak source image. A blurry product shot may still produce soft edges. Likewise, a crowded background may distract motion away from the intended subject. Therefore, preparation should happen before prompt writing.
In practical terms, the best image quality is not about expensive equipment. Instead, it means the photo is sharp enough, well lit, cleanly framed, and easy to understand. Consequently, simple source images often create more reliable short video clips.
Ready source image, clear subject, simple motion prompt. That is the safest path for image-led video testing.
Prepare an image for video
The Core Input Image Quality Checklist
Next, the source image should pass a few basic checks. These checks do not require advanced editing skills. Instead, they focus on clarity, structure, and visual intent.
1. Start with one clear main subject
First, the frame needs one obvious focus. The subject may be a person, product, room, meal, illustration, package, app visual, or campaign asset. However, the image should not force the model to guess what matters most.
For example, one centered product on a clean surface usually works better than a shelf full of similar items. Similarly, one portrait with a readable face often works better than a crowded group image. Therefore, subject clarity should come before visual complexity.
2. Check sharpness at normal viewing size
Next, the main subject should look sharp without heavy zooming. Slight background blur can look natural. However, blur on the subject can weaken edges, facial detail, product shape, and small visual features.
Therefore, inspect the image before upload. If the face, product label, logo, texture, or outline already looks soft, choose a cleaner source. In addition, avoid strong artificial sharpening because halos can become distracting during motion.
3. Use balanced lighting
Meanwhile, lighting helps the model read form. The subject should not be hidden in shadow or washed out by strong highlights. As a result, balanced exposure often matters more than dramatic contrast.
For example, a product photo beside soft window light can work well when the shape and label remain visible. However, a backlit photo may turn the subject into a silhouette. Therefore, the clearest version is usually the stronger video source.
4. Keep the background supportive
Additionally, the background should support the subject without competing against it. A simple background does not need to be blank. Instead, it should create a clear visual hierarchy.
For instance, a coffee cup on a clean counter gives the model a readable scene. In contrast, cables, bags, receipts, and harsh shadows may add noise. Consequently, the final clip can feel less focused.
5. Leave safe space for movement
Finally, the crop should give motion room to breathe. A tight crop may look strong as a still image, but it can limit pans, zooms, and subtle camera movement. Therefore, important details should not touch the frame edge.
For example, a portrait needs enough headroom. A product image needs space around corners and labels. Likewise, an interior photo needs enough wall and floor context for a smooth camera move.
Technical Checks: Resolution, Ratio, and File Cleanliness
After visual quality, the file itself needs a quick review. Technical checks do not need to be complicated. Still, they help prevent weak exports, broken details, and awkward crops.
Resolution should match the final use
First, the image should contain enough detail for the intended video. A tiny screenshot may look acceptable in a chat window. However, it may look soft in a vertical social clip or website hero section.
Therefore, use the cleanest original source whenever possible. A camera original, design export, product image, or high-quality artwork usually beats a compressed download. Additionally, close-up motion needs more detail than a wide static scene.
Aspect ratio should fit the channel
Next, the aspect ratio should match the planned placement. A vertical clip usually needs a vertical or square source. A landing page banner may need a wider frame. Meanwhile, product pages often work well with square or slightly vertical compositions.
Because of this, image selection should happen with the final channel in mind. A landscape image can work for a wide banner. However, it may lose important details when cropped for mobile-first video.
Compression should stay low
In addition, compression can damage fine details. Blocky shadows, banded gradients, jagged edges, and smeared textures may become more visible when the image moves. Therefore, low-quality reposted files should be avoided.
For general image handling basics, Google image SEO best practices also emphasize clear image context and descriptive image information. Although that guidance is written for search visibility, the same habit supports cleaner image preparation.
Small cleanup can improve clarity
Also, small distractions can become more noticeable in motion. Dust, watermarks, UI marks, date stamps, harsh reflections, and accidental background objects may pull attention away from the subject.
Therefore, light cleanup can help when the core image is strong. For pre-video polishing, the image preparation edit workflow can support cleaner source visuals before animation.
Image Preparation by Use Case
Different visuals need different checks. Therefore, the same image preparation checklist should adapt to portraits, product assets, social content, ecommerce visuals, real estate images, and artwork.
Product and ecommerce visuals
For product visuals, the item should look clean, centered, and easy to recognize. Logos, shape, color, texture, and materials should remain visible. However, tiny text should not carry the entire message.
Additionally, reflective surfaces need extra care. Glass, glossy packaging, jewelry, and screens can create bright highlights. If those highlights already look messy in the still frame, motion may make them more distracting.
- Use one clear hero item.
- Keep the product edge sharp.
- Leave space around the item for motion.
- Avoid relying on small text.
- Keep props simple and relevant.
Portraits and social media images
For portraits, face clarity matters most. Eyes, hairline, mouth shape, clothing edges, and hands should remain readable. Meanwhile, the background should add mood without stealing focus.
For social media, vertical composition often helps. A landscape photo can still work, but heavy cropping may cut off important details. As a result, vertical or square originals usually offer more flexibility.
- Keep the face well lit.
- Avoid extreme blur on facial details.
- Keep hair separated from the background.
- Leave enough headroom for zooms.
- Use a background that supports the mood.
Ad creative and landing page visuals
For campaign images, the frame needs both visual focus and message space. A product, person, or scene may lead the composition. However, empty space often helps when text overlays will be added later.
Therefore, avoid filling every corner with visual elements. A clean left or right side can support a headline, button, or brand message. Meanwhile, the subject should remain strong enough without text.
- Keep the campaign subject visible within one glance.
- Protect space for future text overlays.
- Avoid complex collage layouts.
- Check that brand elements do not touch the frame edge.
- Use consistent lighting across the image.
Recommended Vidnix Workflow
After the image passes the checklist, the next step should be simple. The source image should decide which workflow fits best. This keeps the article useful while also making the next click clear.
Start with the cleanest image. Then choose the right workflow based on the source quality.
Create AI video from image Check pricing and credits
Pre-Upload Review Table
Before generation, a simple table can speed up review. In addition, it keeps image quality consistent across campaigns, product launches, social posts, and creative tests.
A Practical Image Preparation Workflow
First, define the intended motion. A slow push-in, soft pan, product reveal, character expression, or background drift needs different framing. Therefore, the image should match the motion before prompt writing begins.
Next, choose the cleanest source file. A camera original, high-quality design export, or clean product asset usually performs better than a downloaded preview. Additionally, the image should be inspected at full size, not only as a thumbnail.
Then, remove only the distractions that hurt clarity. Small marks, extra objects, dust, and harsh reflections can be cleaned. However, heavy retouching may create unnatural texture, so edits should stay light.
Finally, write the prompt after the image is ready. The prompt can then focus on motion, mood, and pacing. The result is a cleaner workflow: clear source image first, controlled motion second.
- Choose one image with one obvious subject.
- Check sharpness, lighting, crop, and compression.
- Clean only visible distractions.
- Match the aspect ratio to the final channel.
- Use a simple motion prompt after the image is ready.
Common Image Problems to Avoid
However, several image issues keep causing weak results. The first is missing focus. A busy street scene, packed shelf, or crowded collage may look interesting, but motion needs a clear visual path.
The second issue is poor subject separation. Dark clothing against a dark wall, white packaging on a white table, or low-contrast artwork may create unstable edges. Therefore, contrast between subject and background is useful.
Another issue is extreme cropping. A dramatic close-up can work as a still image. Still, it may leave no room for camera movement. As a result, wider source images are often safer.
Finally, avoid asking the prompt to fix everything. A prompt cannot always correct blur, clutter, compression, or poor lighting. Instead, the stronger approach is to improve the image first, then generate motion.
Related Reading and Useful Pages
Additionally, the following Vidnix pages support the next step after image preparation. Each link keeps the article connected to the right workflow without turning the checklist into a broad tool comparison.
- Turn one photo into video after the source photo passes the checklist.
- Refine an image before animation when small cleanup or restyling is needed.
- Contact Vidnix AI for workflow questions, support needs, or product guidance.
FAQ
What image quality works best for image-led video?
Generally, a sharp image with one clear subject, balanced lighting, clean background, and enough safe space works best. In addition, the source should avoid heavy compression and extreme crops.
Does higher resolution always create better results?
Not always. Higher resolution helps when detail matters, especially for close-ups. However, lighting, crop, subject clarity, and background simplicity are just as important.
Can a blurry image still become a usable video?
Sometimes, mild softness can still work for simple camera movement. However, heavy blur on the main subject often creates weak detail, so replacing the image is usually better.
Should text appear inside the input image?
Text can appear, but it should stay large and simple. Small, angled, or essential text may become less readable during motion. Therefore, important copy often works better as an overlay.
When should an image be edited before generation?
Edit the image when the core source is strong but small distractions remain. For example, light cleanup, exposure correction, straightening, or background simplification can improve the source.
Conclusion: Prepare the Image Before the Prompt
In summary, image preparation makes AI video generation more controlled. A prompt still matters, but the image sets the foundation. Therefore, a clear subject, clean crop, balanced light, and enough resolution should come first.
Finally, the next test should start with a practical review rather than a complicated prompt. Select a clean source, remove obvious distractions, and choose motion that fits the frame. Then, use free image to video ai as the entry point for image-led creation.
- First, choose one clear source image with one strong subject.
- Next, check sharpness, lighting, crop, resolution, and compression.
- Finally, start with subtle movement before testing complex motion.
Prepare the image first. Then open Vidnix, upload the clean source, and let the motion prompt focus on movement instead of fixing avoidable image problems.
Start with Image to Video Contact Vidnix AI