
Animate Image AI for Before-and-After Videos
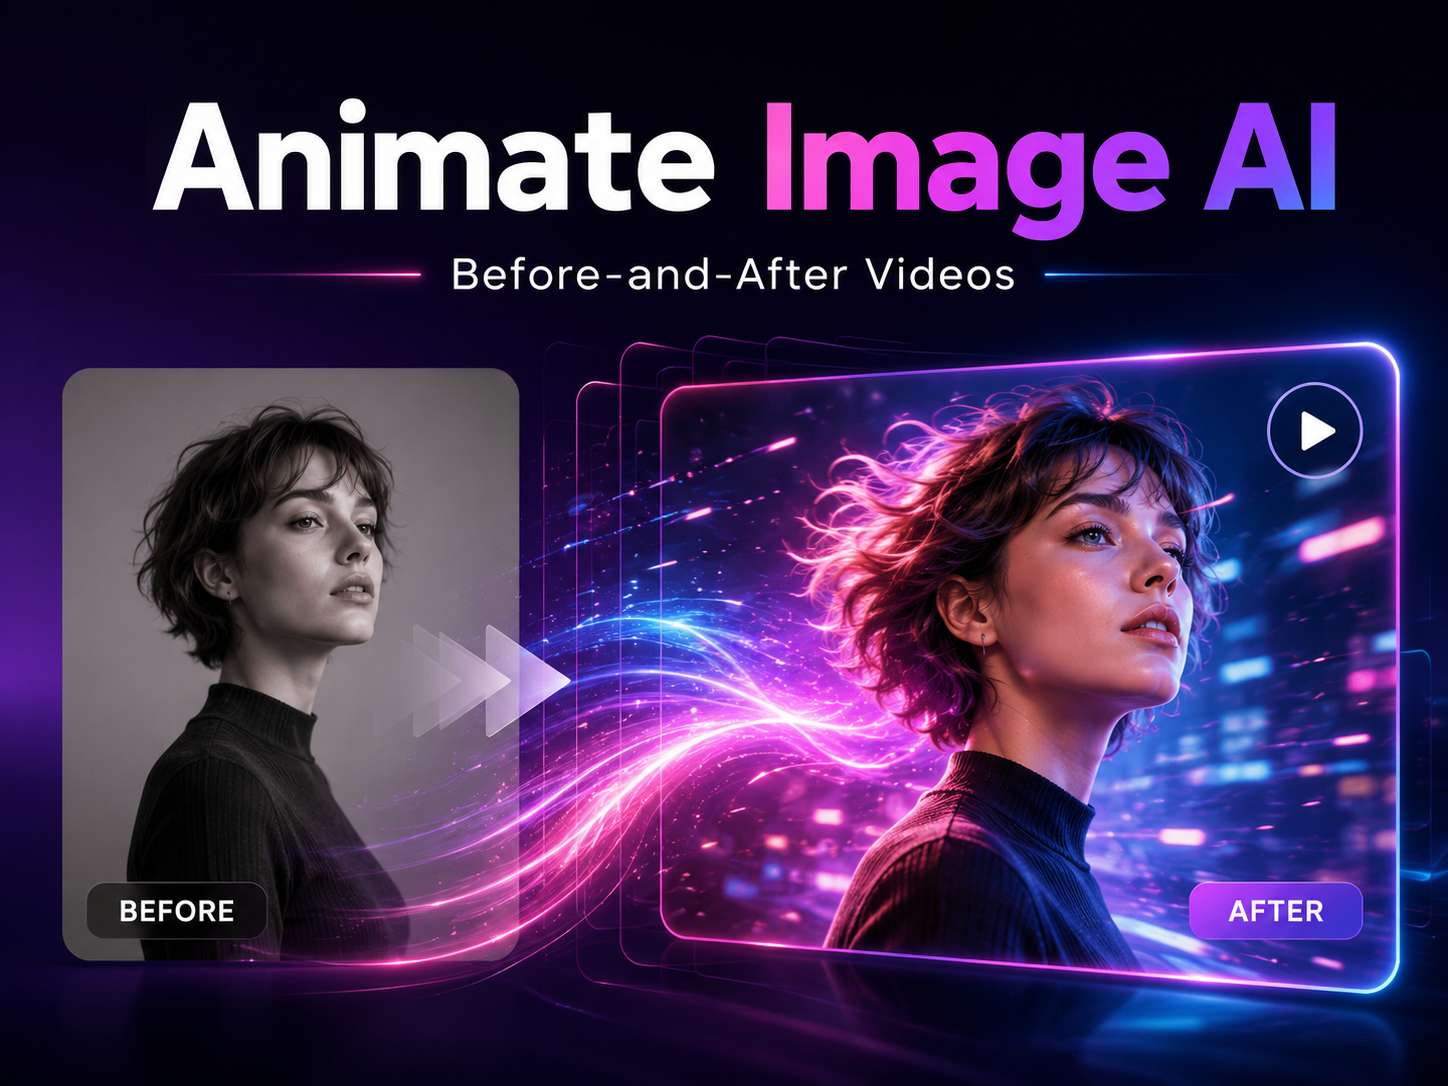
Before-and-after videos make visual change easy to understand. First, the viewer sees the starting image. Then, motion reveals a cleaner, sharper, more polished, or more finished result. Therefore, this format works well for transformation clips, product reveals, design previews, app screens, brand refreshes, and creative mockups.
Why It Works Best Fit Scenarios Workflow Prompts Effects Checklist FAQ
A strong before-and-after clip does not need a complicated video plan. Instead, it needs a clear starting point, a clear final state, and a transition that explains the change. For this reason, animate image ai is useful when a still image needs to become a short transformation video.
However, the best clip does not come from random movement. The motion should guide attention from before to after. It should also protect the subject, preserve important details, and make the final frame ready for a page, ad draft, presentation, or product showcase.
Why Before-and-After Videos Work
First, the format is easy to follow. The viewer sees the original image, watches the shift, and understands the result. Therefore, a before-and-after video can explain progress faster than a long block of text.
At the same time, motion creates attention. A static comparison can still work, but a smooth AI transition makes the change feel more active. As a result, a product, design, screen, or visual concept can feel more complete.
Still, clarity matters more than drama. If the transition is too fast, the viewer may miss the difference. If the effect changes the subject too much, the clip may feel less trustworthy. Therefore, the best transformation effect is usually controlled, simple, and easy to read.
Who This Use Case Fits Best
Before-and-after animation is best for teams that already have a useful image and need a clearer visual story. For example, a product photo can become a short reveal. A rough design can become a finished concept. A plain app screen can become a more polished feature preview.
| Best For | Why It Works | What to Avoid |
| Product reveal clips | A still product image can gain lighting, depth, and motion. | Do not let packaging or labels warp. |
| Design mockup upgrades | A draft can move into a finished visual. | Do not overload the clip with too many effects. |
| Brand refresh previews | A new look becomes easier to understand in motion. | Do not change key brand details randomly. |
| App screen updates | A static interface can show clearer structure and polish. | Do not rely on tiny text staying perfect. |
This use case is not ideal for unsupported claims, fake progress proof, or a complete social media strategy. Instead, it works best as a focused visual tool: one image, one change, one clean transformation clip.
Before-and-After Video Scenarios
Product Photo to Polished Reveal
A plain product photo can become a stronger clip when the transition adds light, depth, and a slow camera push. For example, a packaging image can shift into a premium studio-style reveal. In this case, the final frame should keep the product shape clear.
However, product visuals need control. The prompt should protect edges, colors, and labels. Therefore, words such as “stable,” “clean,” “subtle,” and “preserve the product outline” are helpful.
Rough Design to Finished Concept
Design work often needs a simple progress story. A sketch, flat layout, wireframe, or early mockup can transition into a polished final visual. Meanwhile, the motion makes the upgrade easier to follow than a static slide.
For this scenario, a clean wipe or blur-to-sharp reveal usually works well. A heavy morph may look dramatic, but it can damage layout structure. As a result, calm motion often feels more professional.
Old Visual Style to Brand Refresh
A brand refresh can be shown through color, lighting, spacing, and composition. First, the old visual appears. Then, the transition reveals the new look. Finally, the final frame holds long enough for the updated style to land.
Still, the clip should not invent a completely different identity. The logo shape, color direction, and main layout should stay intentional. Therefore, the prompt should describe what changes and what stays stable.
Static App Screen to Feature Preview
App screens and dashboards can also benefit from before-and-after motion. A basic interface can move into a cleaner, more polished view. In addition, highlights can guide attention to one feature or one improved section.
However, small text can shift during AI generation. For that reason, the clip should focus on structure, visual hierarchy, and broad UI movement rather than tiny labels.

Explore Transformation Effects
Step-by-Step Workflow
A clear workflow keeps the clip practical. First, the starting image should be easy to read. Next, the final state should be written in plain language. Then, the prompt should describe the transformation effect and camera movement.
- Choose a clean before image. Use a clear subject, simple background, and visible starting point.
- Define the after state. Decide whether the final frame should feel polished, brighter, cleaner, premium, modern, or cinematic.
- Pick one transition style. Use a light sweep, glow reveal, clean wipe, blur-to-sharp shift, or slow zoom.
- Write a focused prompt. Explain the subject, change, camera movement, and stability needs.
- Generate and review. Check whether the subject stays stable and the result is easy to understand.
For the generation step, the image-to-video tool is the most relevant path. It starts with a still image, then adds motion based on a prompt. As a result, a product photo, design mockup, screen image, or creative visual can become a short video asset.
However, one generation should not always be treated as final. A better process allows small prompt edits. For example, one version can test lighting, another can test transition speed, and another can reduce distortion.
Prompt Formula for Transformation Clips
A useful prompt has four parts. First, name the subject. Next, describe the before state. Then, explain the transformation effect. Finally, define the after state and the motion style.
For example, “make this image move” is too vague. A stronger prompt says, “Start with the plain product photo, add a soft studio light sweep, transition into a polished product reveal, and keep the product shape stable.” This gives the AI transition a clearer path.
Prompt Formula
Subject + before state + transformation effect + AI transition + camera movement + after state + stability note
Prompt Examples
Product reveal: Start with the simple product photo. Use a soft studio light sweep. Transition into a polished ad-style product reveal. Add a slow camera push and keep the product outline stable.
Design upgrade: Start with the rough layout. Use a clean wipe transition into a finished visual design. Add subtle depth and preserve the main composition.
Beauty visual: Start with the plain product image. Add a soft glow transition and gentle light movement. Reveal a polished campaign look while keeping texture realistic.
App screen: Start with the basic dashboard image. Use a sleek AI transition into a cleaner feature preview. Add a slight camera push and keep layout structure stable.
Food or drink reveal: Start with the ingredient image. Use a warm cinematic transition into a finished serving scene. Add subtle steam, natural texture, and a gentle camera move.
How to Choose the Right Transformation Effect
The transition should match the subject. A product upgrade may need a light sweep. A beauty concept may need a soft glow. A design mockup may need a clean wipe. Meanwhile, a digital product preview may need subtle highlight movement.
| Goal | Best Effect | Useful For | Risk to Check |
| Premium reveal | Soft light sweep | Product shots and packaging | Label distortion |
| Creative upgrade | Clean wipe | Design mockups and layouts | Composition drift |
| Beauty polish | Glow reveal | Skincare, makeup, fashion | Unreal texture |
| Interface update | Sleek highlight motion | App screens and dashboards | Small text changes |
| Food reveal | Warm cinematic reveal | Ingredients and serving scenes | Strange texture shifts |
In addition, the effect should support the final call to action. A product clip may end with a clean reveal. A design clip may end with the finished composition. A dashboard clip may end with the improved interface. The last frame should feel ready for use, not unfinished.
Before Publishing Checklist
Before a transformation clip goes live, it should pass a simple review. First, the viewer should understand the before state. Next, the transition should make the change clear. Finally, the after state should hold long enough to be noticed.
- The starting image is clear and not visually crowded.
- The final state is easy to describe in one sentence.
- Only one main transformation effect is used.
- The subject stays recognizable during the AI transition.
- Product labels, UI structure, or brand elements do not drift too much.
- The final frame supports a page, ad draft, presentation, or product showcase.
- The clip does not imply unsupported claims about results.
For ad placement planning, format should also be checked early. The official Google Ads video ad specs page is a useful reference for horizontal, vertical, and square video requirements. This keeps the creative workflow practical before clips are placed into paid media or landing page tests.
Meanwhile, credit planning should not be left until the end. If several prompt versions are needed, it makes sense to review pricing and credits before scaling production. This keeps testing controlled and avoids unclear output planning.
Common Mistakes That Weaken the Clip
One common mistake is adding too much motion. A fast spin, heavy shake, or extreme morph may look exciting at first. However, it can hide the actual before-and-after difference.
Another mistake is using a vague prompt. “Make it better” does not give enough direction. Instead, the prompt should explain the starting point, the transition, the final look, and the details that must stay stable.
Also, some clips end too quickly. The final frame needs enough time to communicate the result. Therefore, a short ending hold often improves clarity and makes the clip easier to place on a page or ad layout.
Finally, the CTA should match the visual change. A product reveal can point to a product page. A software preview can point to a feature page. A creative mockup can point to a project discussion. In every case, the next step should feel natural.
Practical CTA Path for Vidnix
A before-and-after clip should not leave the viewer unsure about the next step. The visual already shows the change. Therefore, the call to action should be short, relevant, and close to the use case.
- For a product reveal, use: “Turn the product image into a motion clip.”
- For a design preview, use: “Show the finished concept in motion.”
- For an app screen, use: “Preview the interface upgrade.”
- For a brand refresh, use: “Bring the new look to life.”
- For longer motion, use: “Extend the clip after the first reveal.”
If a generated clip needs a longer continuation, the video extend workflow can support follow-up movement after the first short reveal. This is useful when the initial transformation works, but the final use requires more runtime.
Related Reading
These Vidnix pages support the before-and-after workflow. Each link keeps the reader close to image motion, effects, credit planning, or support.
Image to VideoStart with a still image, add a motion prompt, and generate a short clip. Open Page |
Video EffectsExplore effect styles for reveal clips, motion tests, and transformation ideas. Open Page |
PricingReview credit planning before creating several prompt versions. Open Page |
ContactUse the support page when workflow or account questions need help. Contact |
FAQ
What is a before-and-after video?
A before-and-after video is a short clip that shows a clear change from one visual state to another. First, it presents the starting image. Then, a transition reveals the improved or finished version.
What is a transformation effect?
A transformation effect is the visual change between the before state and the after state. It may use a light sweep, glow reveal, clean wipe, zoom, blur-to-sharp move, or smooth morph.
What makes an AI transition look natural?
A natural AI transition keeps the main subject stable while adding controlled motion. Therefore, the prompt should protect shape, layout, texture, and important visual details.
Can one image create a before-and-after clip?
Yes. One clear image can create a transformation-style clip when the prompt defines the starting state, final state, transition style, camera movement, and stability needs.
How long should a transformation clip be?
Many before-and-after clips work well in a short format. However, the final frame should hold long enough for the viewer to understand the after state and notice the next action.
What should be checked before publishing?
Before publishing, the clip should be checked for subject stability, clear final framing, smooth transition movement, and message clarity. In addition, it should not imply unsupported results.
Create Clear Transformation Clips
Before-and-after videos work because the change is direct. First, the viewer sees the original state. Then, the transformation effect creates motion. Finally, the after state shows the result in a way that feels easy to understand.
For a better result, the workflow should stay focused. Choose one clear image, define one final state, use one AI transition, and review the final frame carefully. This keeps the clip useful for product reveals, design upgrades, app previews, brand refreshes, and polished creative mockups.
- First, define the before state and after state before writing the prompt.
- Next, use one transformation effect and one restrained camera movement.
- Finally, review stability, clarity, and credit planning before scaling output.
For teams ready to create transformation clips from still visuals, animate image ai gives a practical path from image concept to motion-ready before-and-after video.