
AI Image to Video Generator: Common Mistakes to Avoid
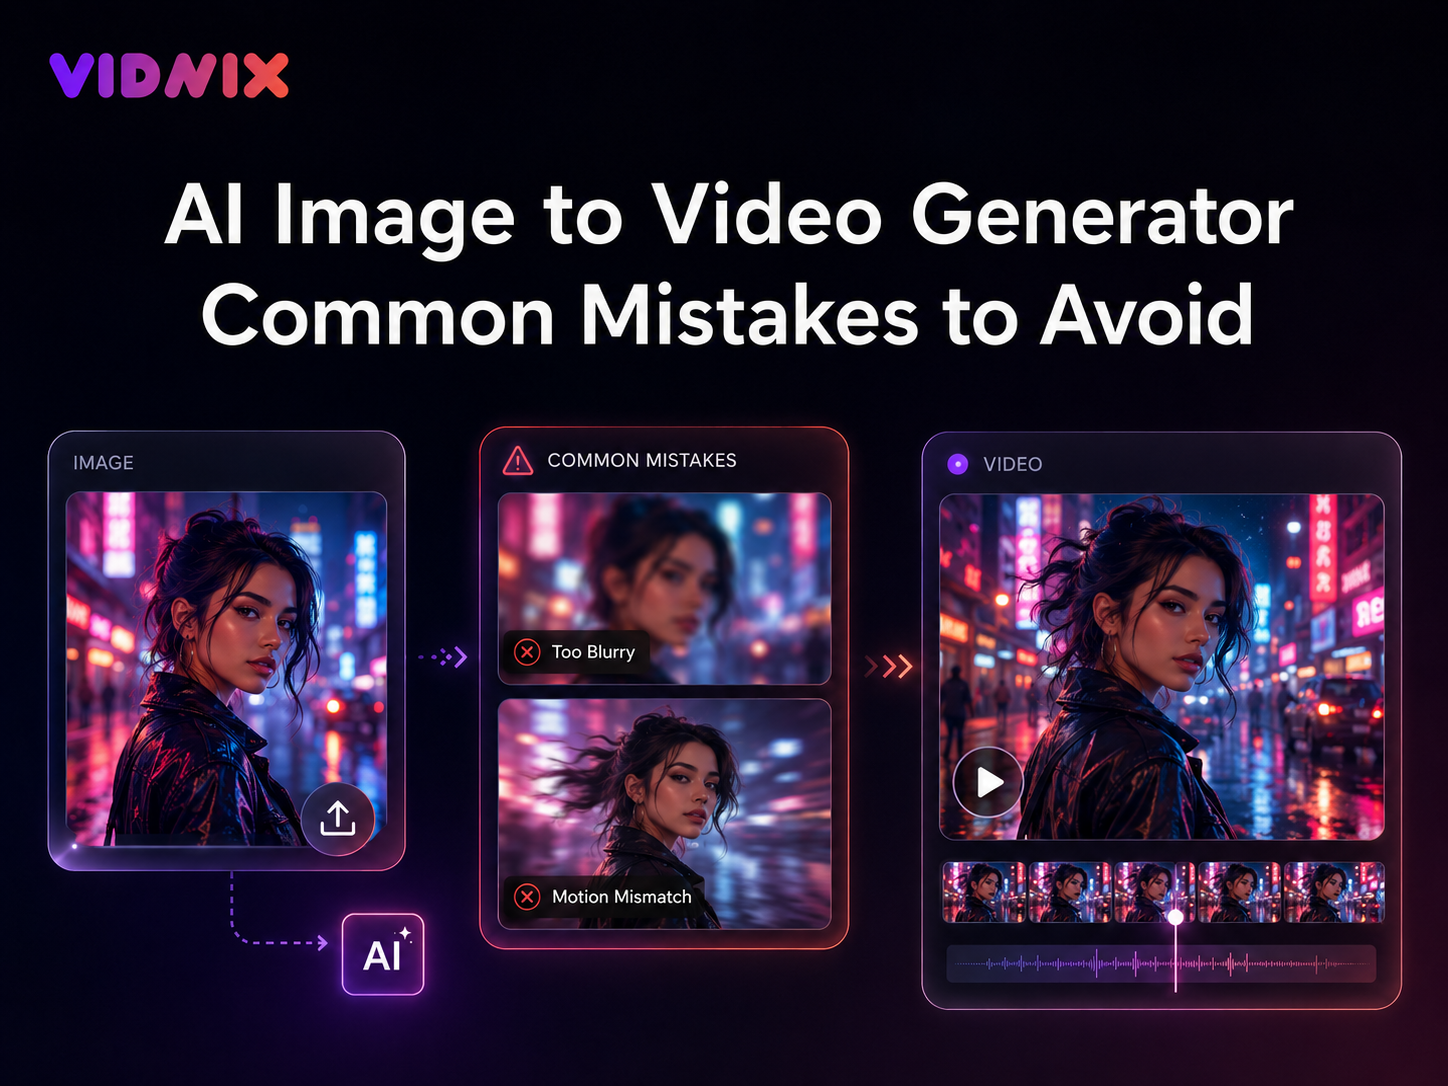
Turning a still image into a short video looks simple at first. However, weak results usually come from small setup mistakes before generation starts. A sharp image, realistic motion idea, and focused prompt often matter more than a long description. For that reason, an ai image to video generator workflow should begin with a practical mistake check, not a rushed upload.
This guide focuses only on troubleshooting: common mistakes, blurry AI video, motion mismatch, prompt overload, text distortion, and publishing review. It does not compare tools or turn into a general AI video guide. Instead, it gives a clear path for creating cleaner image-to-video results with less trial and error.
1. Starting with a Weak Source Image
First, the source image sets the ceiling for the final video. If the photo already looks soft, noisy, compressed, or visually crowded, generated motion usually makes those problems easier to notice. As a result, the output may look unfinished even when the prompt sounds clear.
However, weak input quality is not always obvious at thumbnail size. A photo may look acceptable inside a social feed but break once zoom, pan, or parallax movement begins. Therefore, image preparation should happen before the first generation test.
Additionally, a strong source image gives the system more stable visual information. Clear subject edges, balanced lighting, and enough visible detail help motion feel natural. In practice, the best input is often the cleanest image, not the most dramatic one.
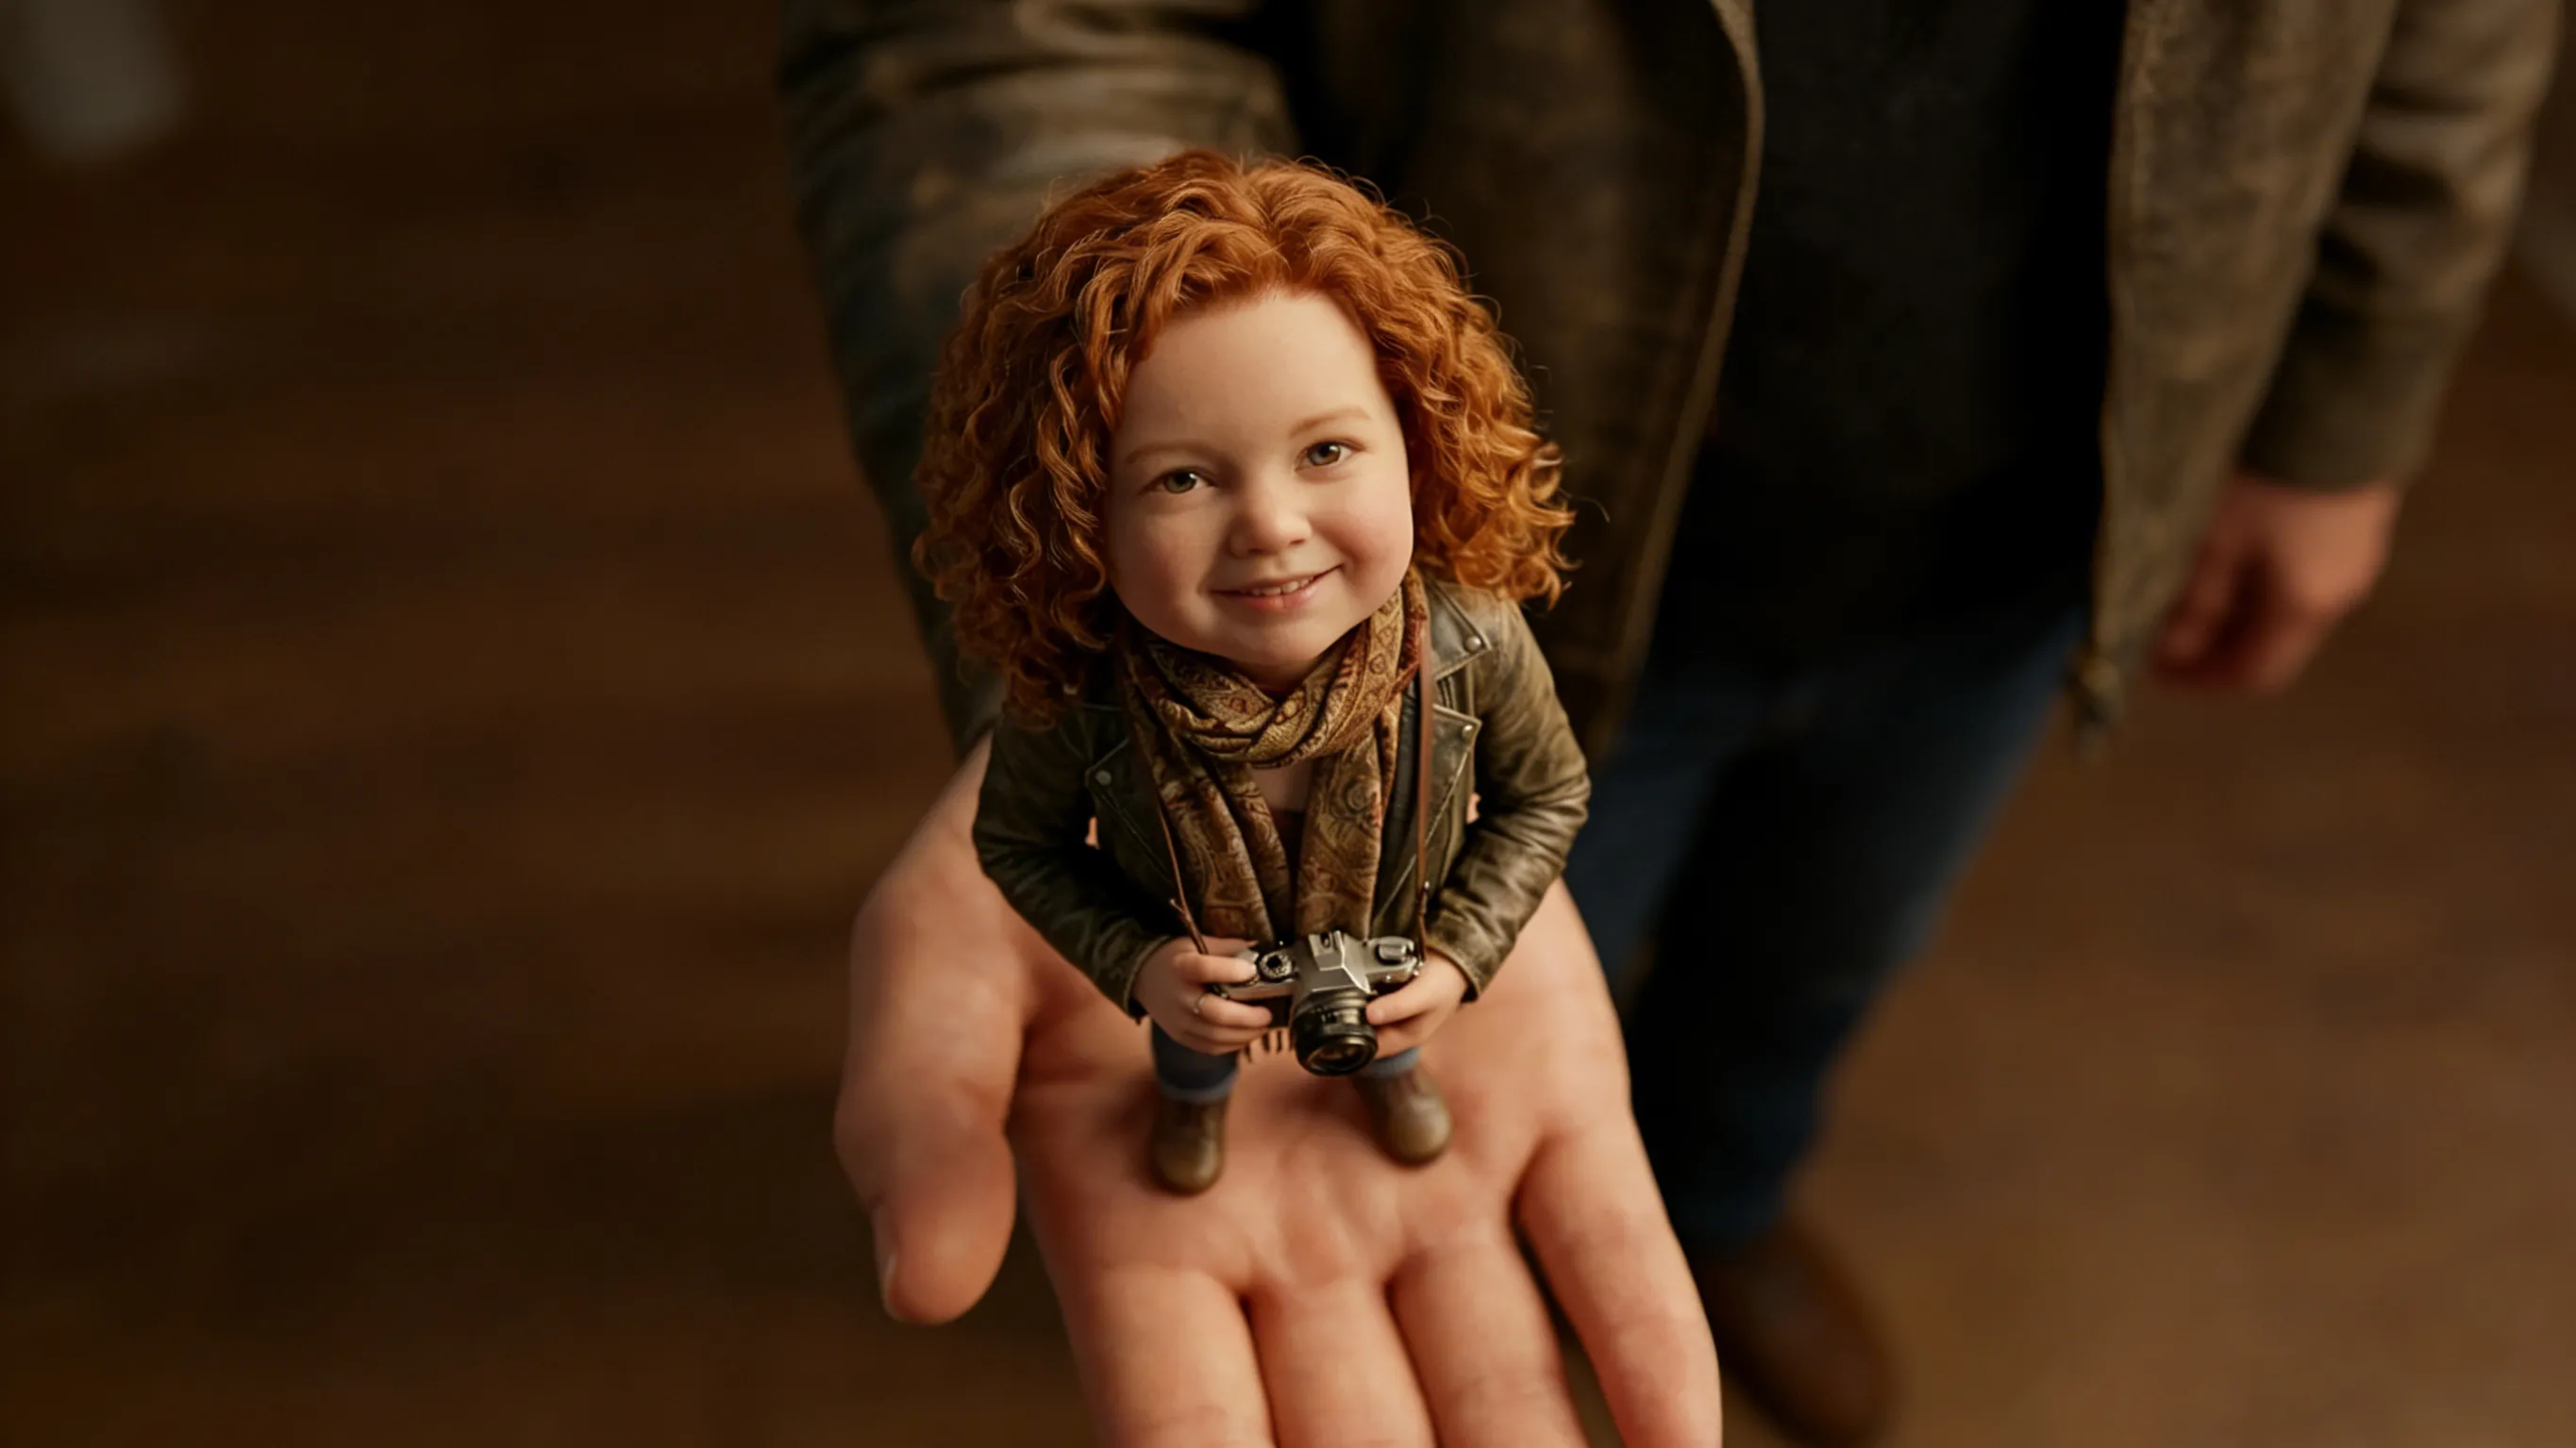
Source image checklist
- The main subject is clear within one second.
- Important edges are sharp, not soft or smeared.
- Lighting supports the subject without harsh shadows.
- The background does not compete with the main visual.
- The crop leaves enough room for camera movement.
- Faces, hands, logos, and product labels are not too small.
- The image does not rely on tiny text for meaning.
For example, a clean product image on a simple desk can support a slow push-in. Meanwhile, a crowded event photo may struggle because several faces, signs, and background objects compete for movement. In short, stronger still images create fewer animation problems.
2. Uploading a Blurry Photo and Expecting a Sharp Video
Next, blur is one of the most common output problems. A blurry AI video often starts with a blurry source image, a subject that is too small, or motion that moves faster than the image can support. Consequently, the video may feel weak even when the creative direction is useful.
However, blur is not only about camera focus. Low-light noise, compression marks, motion blur inside the original photo, and weak texture detail can all cause unstable output. Therefore, the first fix is usually not a longer prompt; it is a better input image.
Additionally, many image animations preserve the visual character of the input. If the still frame looks soft, the video may also look soft. For that reason, every key asset should look publishable as a still image before motion is added.
Common blur causes and fixes
In practice, the safest first test is controlled movement. A slow push-in, gentle pan, or mild background depth often creates a cleaner result than dramatic action. Moreover, fewer moving elements make it easier to spot the real quality issue.
For image assets that need cleanup before animation, an image refinement workflow can help shape a cleaner visual direction first. Still, the final animation should use realistic motion that matches the source image.
3. Asking for Motion That Does Not Match the Image
After blur, motion mismatch is the next major issue. Motion mismatch happens when the prompt asks the image to perform movement that the still frame cannot support. For example, a front-facing product photo usually cannot become a clean full rotation without invented detail.
However, this mistake often sounds creative during planning. A prompt may ask for a person to walk, a product to spin, a background to change, and a camera to circle the scene. Yet the original image may only contain one angle, one pose, and limited depth.
Therefore, motion should come from what is already visible. A portrait can support subtle expression and camera drift. A product can support a slow push, light sweep, or soft reveal. A room photo can support gentle pan or parallax when the scene has enough depth.

Motion that usually works well
- Product image: slow push-in, soft highlight, light background depth.
- Portrait image: gentle camera drift, natural blink, subtle hair movement.
- Food image: soft steam, warm lighting movement, small camera push.
- Interior image: slow pan, mild parallax, stable furniture lines.
- Artwork image: layered depth, atmospheric motion, stable main shape.
- Landscape image: clouds, water, light movement, slow cinematic pan.
Meanwhile, unsupported motion creates the most obvious failures. Hidden product sides may appear wrong. Cropped hands may deform. Background objects may slide in strange directions. As a result, the video feels artificial even when the still image looked strong.
In short, a better motion plan respects the frame. The output should feel like the image was always meant to move. If the prompt fights the image, the result usually looks unstable.
4. Writing a Prompt That Is Too Broad
Next, prompt overload can weaken an otherwise good image. A prompt filled with broad words such as cinematic, viral, dynamic, premium, smooth, emotional, and realistic may sound polished. However, those words do not explain what should move.
Instead, a practical prompt should answer three questions. What is the main subject? How should it move? Which details should remain stable? Therefore, a shorter prompt with clear direction often works better than a long prompt with many style terms.
Additionally, prompt edits should happen one variable at a time. If the first result looks wrong, reduce motion first. Then simplify the background. After that, adjust mood words. This process makes troubleshooting easier and less random.
A simple prompt formula
Subject + motion + camera direction + stability note + mood
For example, a product prompt can stay simple: “Clean product bottle on a neutral background, slow camera push-in, keep label sharp, soft studio lighting, calm premium mood.” This instruction names the subject, controls the motion, and protects the product label.
Similarly, a portrait prompt can avoid unnecessary action: “Professional portrait in office, gentle camera drift, natural blink, keep face stable, warm confident mood.” This prompt does not ask the image to become a new scene. Instead, it adds believable movement to the existing frame.
Prompt mistakes to avoid
- Asking for several actions in one short clip.
- Combining zoom, orbit, shake, and scene change at once.
- Using only mood words without motion direction.
- Requesting unseen angles or hidden product details.
- Forgetting to protect faces, logos, hands, and labels.
- Adding complex background action behind a detailed subject.
Moreover, stability notes matter. Phrases such as “keep logo sharp,” “keep face stable,” or “preserve product shape” give the output a clear quality target. They will not solve every issue, but they often reduce avoidable distortion.
5. Ignoring Background Clutter
Another common mistake is focusing only on the main subject. Background clutter can confuse the motion path and steal attention from the message. Consequently, the video may feel messy even when the subject remains visible.
However, a background does not need to be empty. A desk, window, wall, shelf, or soft outdoor scene can create useful depth. The key is visual hierarchy. The main subject should still dominate the frame.
Additionally, certain background elements cause more problems than others. Mirrors, screens, tiny signs, repeated patterns, crowds, and reflective surfaces may flicker or shift during motion. Therefore, a cleaner crop can often improve the final clip without changing the whole idea.
Background cleanup checklist
- The background supports the subject rather than competing with it.
- Small signs, labels, and screens are not visually important.
- Reflections do not hide product edges or face details.
- The subject has enough space around it for camera movement.
- Repeated patterns do not fill the whole frame.
- The scene still works if the background barely moves.
For social posts, a busy background can reduce scroll impact. For product visuals, clutter can reduce visual confidence. Therefore, background control is not only a design choice; it also protects the purpose of the video.
6. Moving Text, Logos, and Product Labels Too Much
Next, text and logos need special care. Fine lettering, small labels, and thin product marks can become unstable when a video adds zoom, rotation, or fast camera movement. As a result, a polished image can turn into a low-trust video.
However, text instability is not always a generation failure. It often comes from asking too much from a text-heavy image. Therefore, text-safe motion should be slower, simpler, and more centered than motion used for landscapes or mood visuals.
Additionally, some messages are better added after the video is generated. A clean moving image can work as the visual layer, while headline text can be placed in an editing tool or publishing platform. This approach keeps important words readable.
Text-safe rules
- Use a high-resolution image when labels matter.
- Keep camera motion slow and controlled.
- Avoid full rotation around text-heavy products.
- Place the important label close to the center.
- Add a stability note for brand marks and package text.
- Review the last frame as carefully as the first frame.
In practice, product accuracy should come before dramatic movement. If a label bends, flickers, or changes shape, the video needs another pass. A beautiful background cannot fix a distorted product name.
7. Who This Troubleshooting Guide Fits
This guide fits teams and creators that already have images but need cleaner short videos from them. It is especially useful when the goal is not a full video production, but a practical image-to-video workflow for repeatable content.
For example, a creator may need a portrait, artwork, or lifestyle image to feel more alive. A marketing team may need campaign visuals that move without distracting from the message. A small business may need simple product clips for posts, banners, or landing pages.
In other words, this article is most helpful when the image already has value but the motion result feels blurry, strange, or inconsistent. It gives a practical review path before more time is spent on random prompt changes.
8. Recommended Selection Path Before Creating Video
A good workflow should make the next step obvious. First, choose one clear still image. Next, decide whether the image is already clean enough for motion. If the image needs visual cleanup, refine the image before testing video movement.
After that, test one simple motion idea. A slow push-in, gentle pan, soft light sweep, or mild parallax is usually a safer first step than a complex action prompt. Then, review the clip for blur, motion mismatch, text stability, and mobile playback.
Finally, plan repeat testing with the project scope in mind. The pricing and credits page can help when several prompt versions or content batches need to be planned. However, better output still begins with better source images and cleaner motion choices.
Practical usage path
- Pick one clean image with a clear subject.
- Check blur, lighting, crop, text, and background clutter.
- Use image refinement first if the visual direction needs cleanup.
- Open the image-to-video workflow and test one simple motion prompt.
- Review the output on mobile and desktop.
- Reduce motion before rewriting the entire prompt.
- Use pricing and credits planning when testing content batches.
This path helps avoid a common trap: using more attempts to fix a weak setup. More testing can help, but only when the image, prompt, and motion idea are already moving in the right direction.
9. Reviewing the Video Before Publishing
Finally, many mistakes become visible only during review. A clip may look good in the first second but lose quality near the end. Therefore, the final frame, mobile preview, and subject stability all deserve attention.
Additionally, placement matters. A homepage hero needs calm movement. A social post may need clearer motion early. An email banner may need subtle animation because heavy movement can distract from the message.
For publishing quality, it also helps to follow general video visibility practices. Google’s video best practices explain that video pages should make videos easy to discover, index, and preview. For reference, see Google Search Central’s video SEO best practices.
Publishing QA checklist
- The main subject remains recognizable from start to finish.
- The motion matches the original image angle and pose.
- The video avoids distracting blur or edge shimmer.
- Faces, hands, logos, and labels stay acceptable.
- The background does not steal attention.
- The clip still looks clean on a mobile screen.
- The final frame can still support the intended message.
For repeated production, a simple review routine saves time. Teams can mark issues as blur, mismatch, clutter, crop, prompt overload, or text instability. Then each revision has a clear reason instead of vague feedback.
Extended Reading
| Image to Video AI Workflow
Use this page when a prepared still image is ready for controlled motion testing. |
| Image Refinement Before Motion
Use image refinement when the source visual needs a cleaner direction before animation. |
| Text to Video Workflow
Use text-to-video when the project starts from a scene idea rather than a finished image. |
FAQ
Why does an image animation look blurry?
Usually, blur comes from a weak source image, a small subject, heavy compression, or too much movement. Therefore, a sharper image and slower motion often improve the result.
What causes motion mismatch?
Motion mismatch happens when the prompt asks for movement that the still image cannot support. For example, a front-facing product image may not support a full rotation. Therefore, motion should match the visible angle and crop.
How can product labels stay readable?
Product labels need sharp input quality, limited movement, and a clear stability note. Additionally, important text should stay near the center when possible.
Is a longer prompt always better?
No. A focused prompt usually works better than a crowded prompt. It should name the subject, define the motion, protect important details, and set the mood.
What is the safest first motion test?
A slow push-in is often the safest first test. Meanwhile, a gentle pan or mild parallax can work when the image has enough background depth.
When should the source image be replaced?
If several simple prompts still create blur, warped details, or unstable subject edges, the source image is probably the issue. In that case, replacing the image is faster than rewriting the prompt again.
Conclusion: Avoid the Mistake Before the Video Is Generated
In summary, cleaner image-to-video results come from better preparation. A clear source image, realistic motion plan, focused prompt, and short QA review can prevent most common mistakes. Therefore, the workflow should begin before the generate button is pressed.
- Choose a sharp image with one clear subject and limited clutter.
- Match motion to the visible angle, pose, crop, and scene depth.
- Review blur, motion mismatch, logo stability, and mobile playback before publishing.
Finally, the next test should start with one prepared image and one focused motion prompt. For a cleaner first draft, open Vidnix AI, avoid overloaded motion instructions, and run a controlled test with an ai image to video generator workflow before building a full creative set.
Ready to avoid common mistakes?
Start with a clean still image, use a simple motion prompt, and test a controlled draft with the image-to-video tool.